PCNC 440 Y-Axis Ball Screw Replacement
Background
In the event the Y-Axis Ball Screw needs to be replaced, the procedure below with guide you through the process of removing the ball screw.
Tools
Metric hex wrench set
Remove the Ball Screw
From the front of the mill:
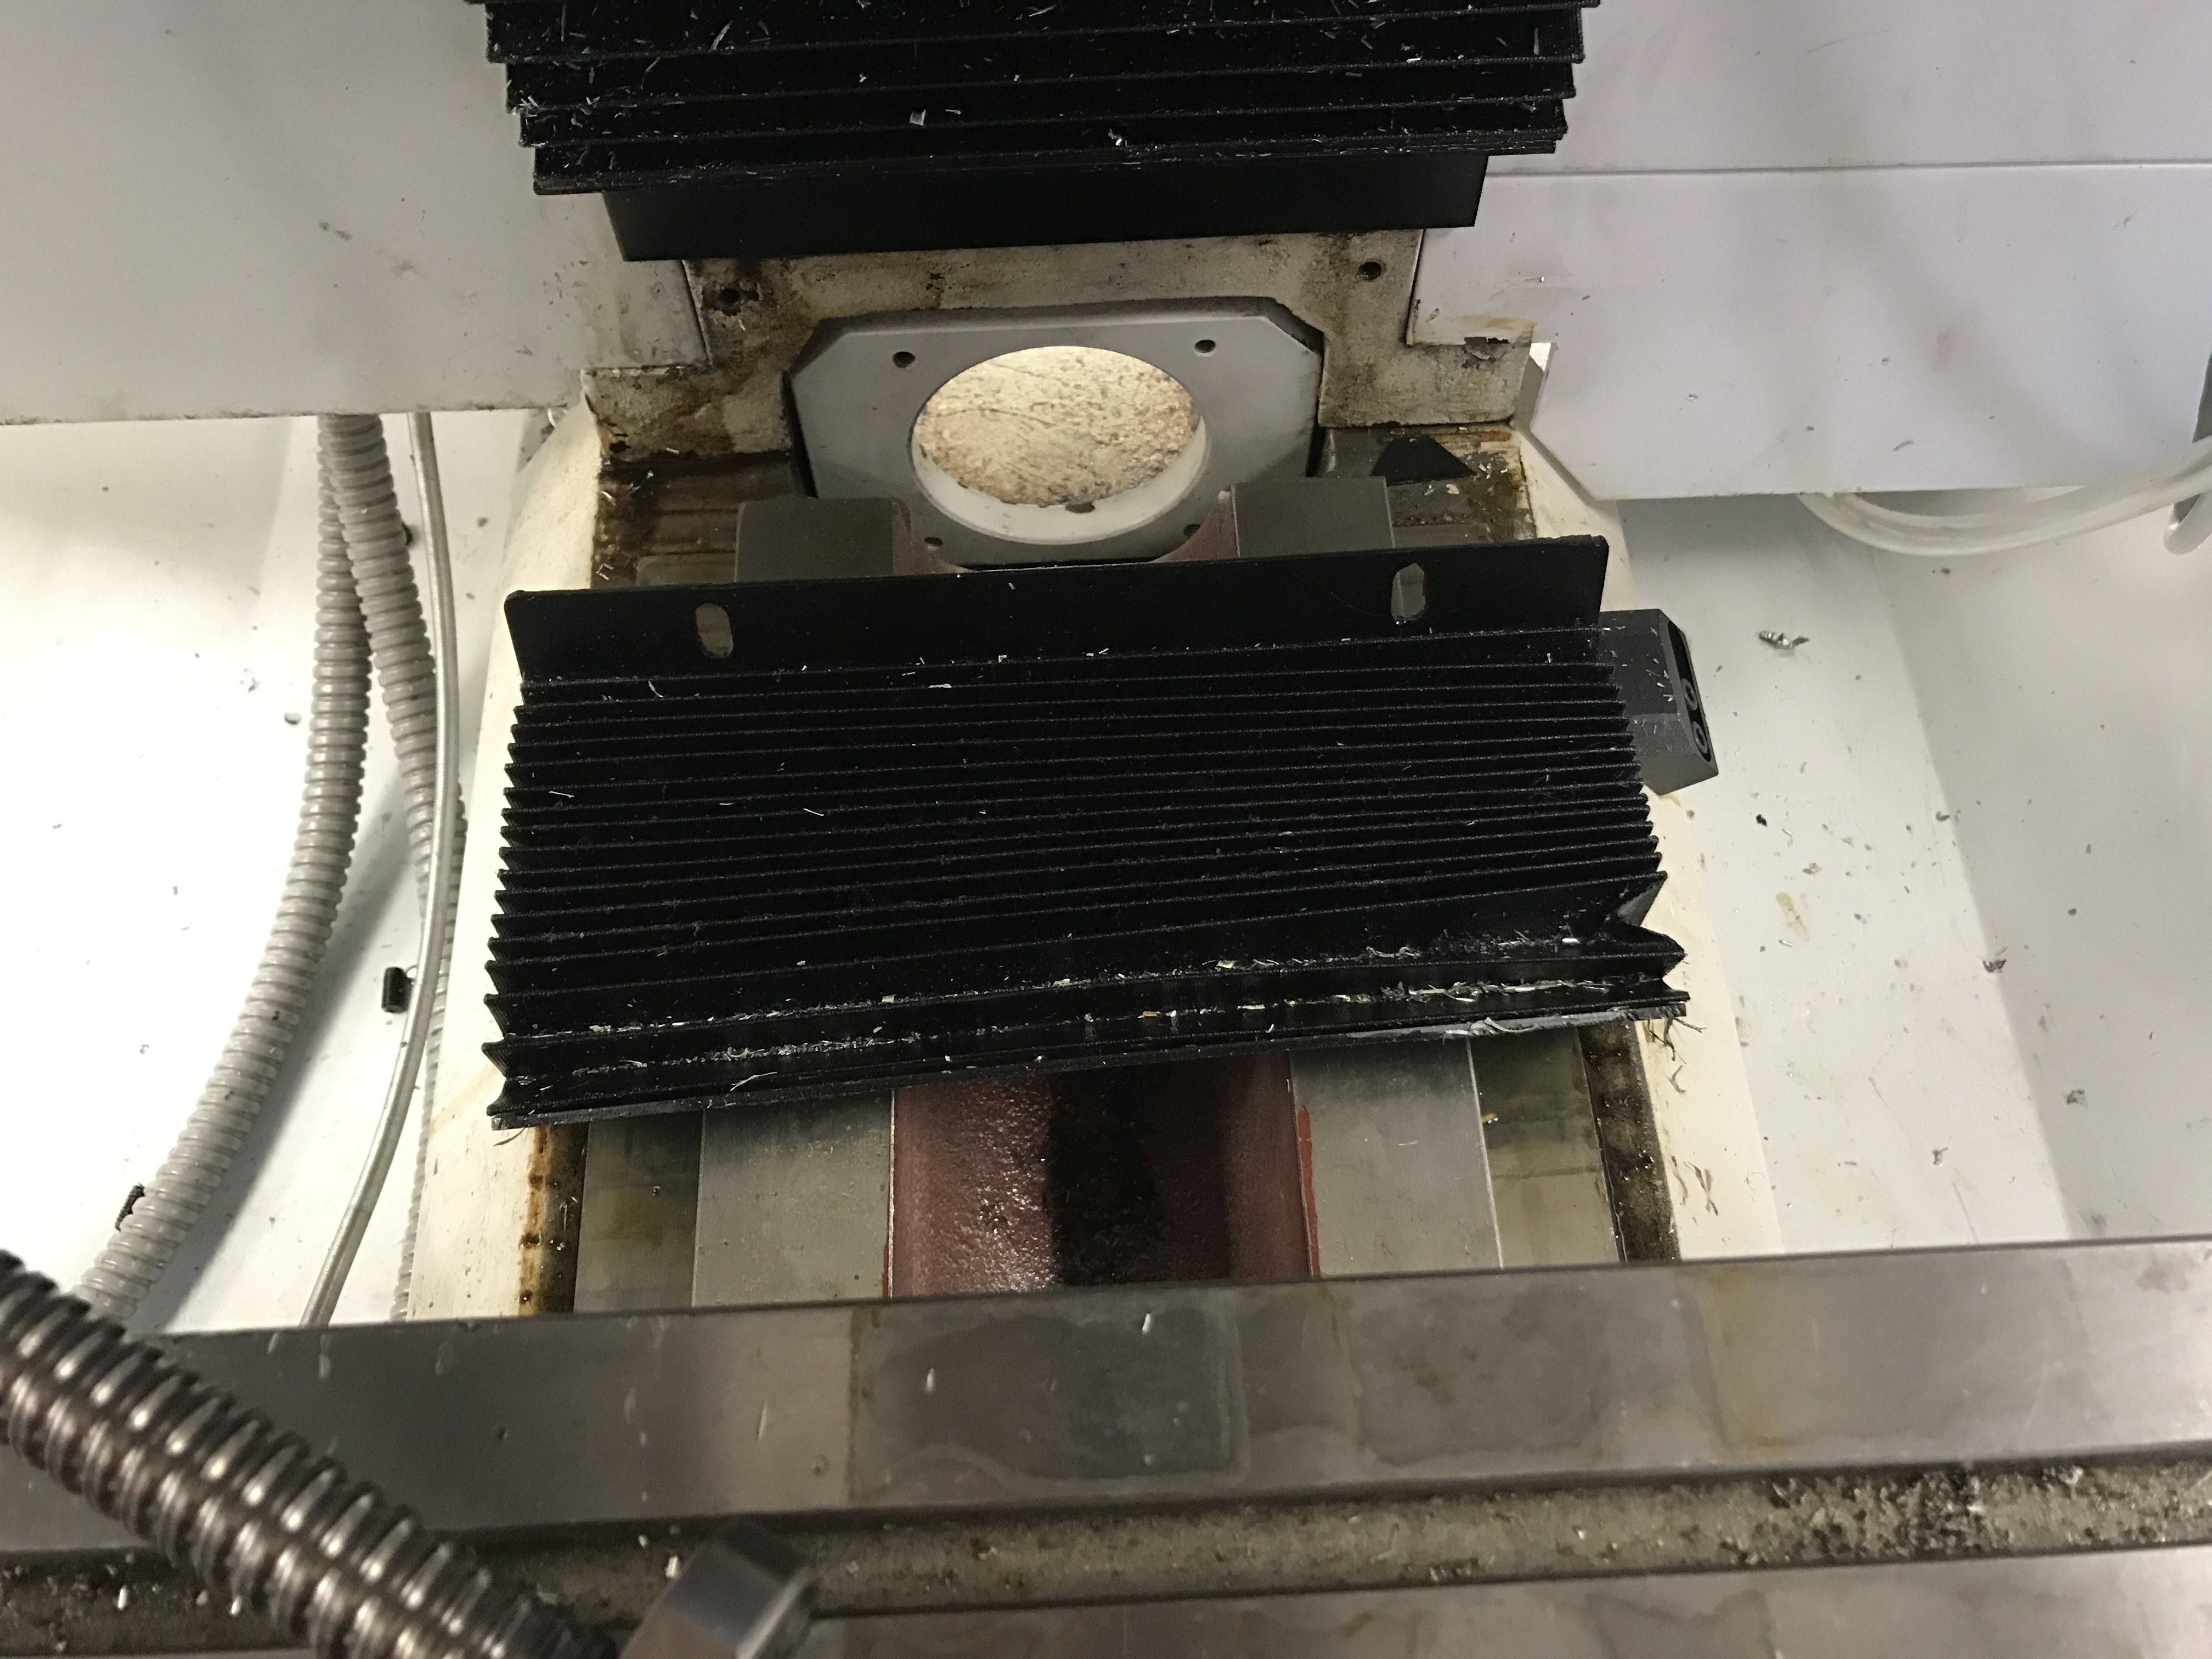
Unscrew rear bellows from rear of Y axis to expose the motor coupler next to the column, and the ball nut mounting screws next to the table.

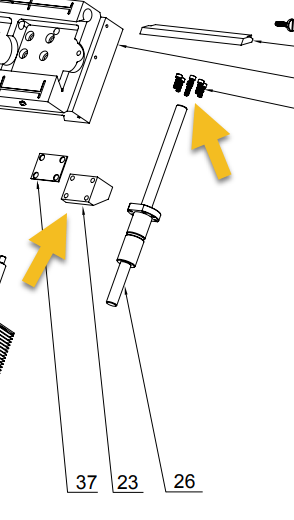
Dismount the ball nut from the ball nut saddle by backing out the 6 SHCS from the rear of the table.

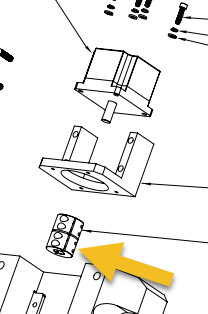
Decouple the lead screw from the motor by backing out the 2 SHCS from the ball nut side of the coupler.

From the rear of the mill:
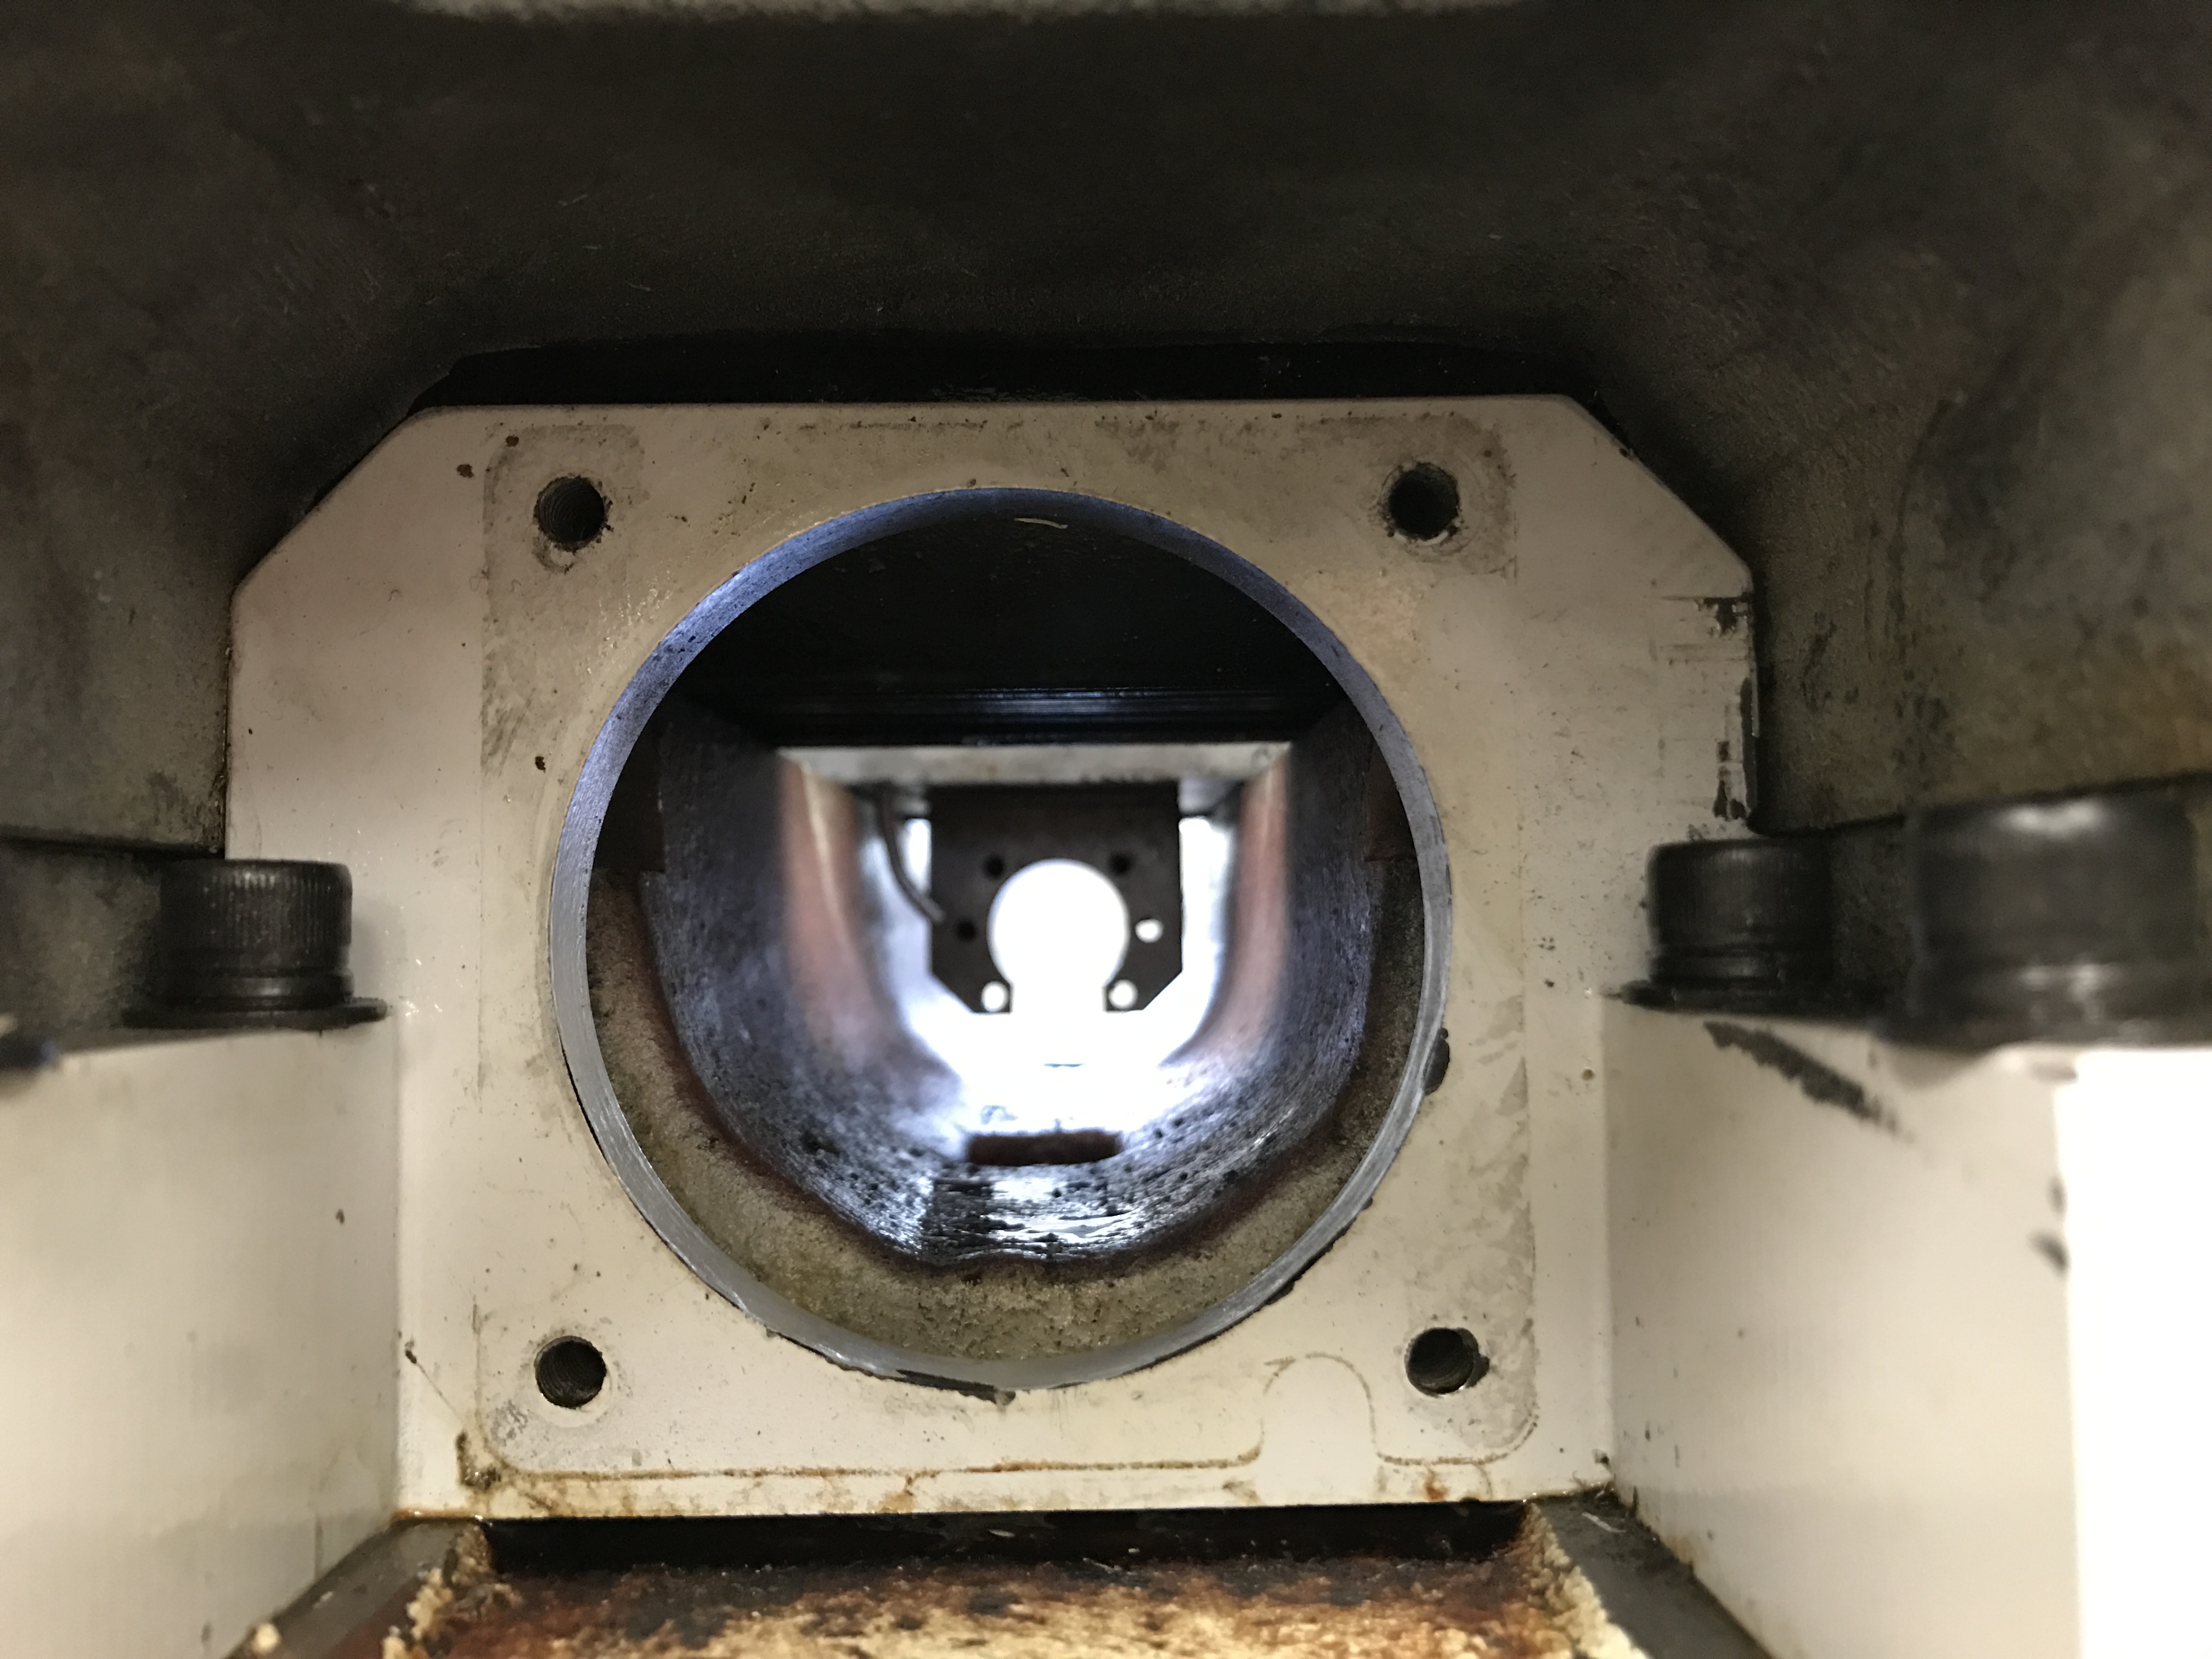
Dismount the Y axis motor by backing out the four SHCS holding the motor to the casting, and pull it out of the way - be careful not to stress the motor wire leads. It should slide off the ball screw.
The Ball Screw and Ball Nut are now free to be removed. Make sure the Ball Nut oil line is not obstructing the Ball Nut itself. Slide the ball screw assembly out the back of the machine.

Install Replacement Ball Screw
To install the new Ball Screw, simply follow the steps above in reverse. Then, reference the Lost Motion and ACB/Gib adjustment document. Make sure the oil is back in place to properly lubricate the Ball Nut.
